Map Editing
Introduction
Tilesetter’s main functionality is to generate tilesets quickly, however, it may be useful to see how these tiles look like in a real environment. Because of this, Tilesetter also includes a map editor where tiles you’ve created can be tested on the fly.
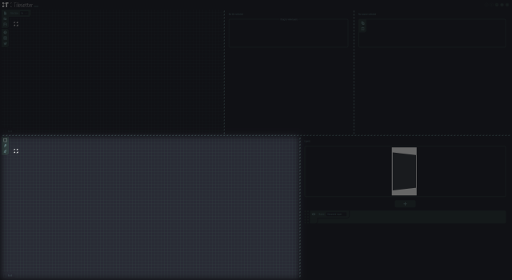
The Sandbox View
The Sandbox View is where maps can be drawn with existing tiles in the project. Located at the bottom left of the window, it has a similar interface to that of the Set View.
Tile placement here works differently though. Whereas each individual tile placed in the Set View is unique, tiles placed in the Sandbox View are references to those existing in the former. This means deleting a tile from the Set View will erase all its instances from the map, and that changing a tile’s visual will update all its instances here as well.
General Controls
Panning – Middle mouse button drag, or left mouse button drag while holding
Alt.Zooming – Mouse wheel, or
Ctrl++/Ctrl+-(Command++/Command+-on macOS).
Here three modes are available for manipulating maps, being selectable at the top left corner of the view. The default is the marquee.

Marquee
This tool allows for manual control over the tiles, being accessible by clicking the topmost icon or pressing
M. It allows you to select, move, delete and use the right click menu to perform operations on selected cells.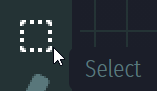
Operations
Selecting – Left mouse button click. Click and drag at an unselected cell to select multiple cells. Hold
Shiftto append to the current selection.Moving – Left mouse button drag at a selected cell.
Deleting –
Deletekey.Smart Copy – Using
Ctrl+C(Command+Con macOS) or right clicking and choosing ‘Copy’ will copy tiles in such a way that tiles pasted later will reference the same Sources as the original ones. This mode does not copy image data and thus does not allow pasting outside of Tilesetter.Raw Copy – Using
Ctrl+Shift+C(Command+Shift+Con macOS) or right clicking and selecting ‘Copy Raw’ will copy tiles’ raw image data for pasting inside or outside Tilesetter.Pasting – Using
Ctrl+V(Command+Von macOS) or right clicking and selecting ‘Paste’ will paste tiles or images.Importing – Right clicking and picking ‘Import’ or using
Ctrl+I(Command+Ion macOS) will allow you to import aPNGfile.Raw images brought into the Sandbox View either through pasting or through the import operation will be broken down into tile-sized pieces by the grid. For each unique and opaque piece found a new tile and an accompanying Source will be created and added to the Set View above, with instances of these new tiles being placed where the image was imported into the Sandbox View.
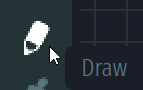
Drawing Tiles
Existing tiles in the project can be drawn freely into the Sandbox View with the pencil tool. This editor mode is selectable through the middle icon at the top left, or by hitting P.
The pencil allows you to draw tiles present in the project by first selecting them in the Set View. Once a desired tile is selected, you can use the left mouse button to click and drag around the Sandbox View to draw the selected tile. Using the right mouse button instead will erase tiles present in the map.

By selecting multiple tiles above, drawing with this tool will stamp in the whole selection, making sure consecutive stamps don’t overlap.

The pencil tool is useful for individually placing tiles, and because of this it does not account for auto-tiling, which can cause neighboring tiles to be disrupted.
Auto-Tiling
Auto-tiling in the Set View can be performed by using the brush tool, accessible through the bottommost icon or by using B.
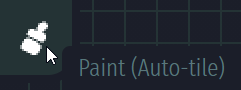
This tool places tiles in a similar way to the pencil tool, but performs auto-tiling according to the affected tiles’ behaviors. This means that by either painting or erasing, tile relations are enforced. Props won’t be broken, Blob and Wang sets will maintain border integrity, and so on.

With this mode you’re able to specify the diameter of the brush in tiles, which can be done by either inputting a value at the now available box at the top left, dragging the box horizontally, or by using the mouse wheel while holding Ctrl (Command on macOS). This value is limited between 1 and 8 tiles across.
When selecting multiple tiles in the Set View, only the first selected tile is used.
Layers
It is often desirable to draw tiles with distinct depths in the map. Layers achieve just that, and can be managed in a pane located to the right side of the Sandbox View.
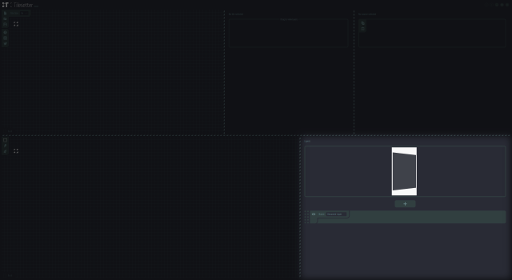
At the top you’ll find a 3D visualization for the layers currently present in the project, which shows a small region of the map around the most recently edited or selected cell. This is helpful for quickly identifying which layer you’re currently working on, and you can shift the shown region with Shift+WASD.
Below you’ll find a list of layers in the map. At least one layer must exist, which is created automatically for you once you start a new project. However, new layers can be created with the ‘+’ button, adding them at the very top of the stack.
Tiles drawn will be placed on the active layer, which can be selected by clicking, or cycled through by using W and S.
Operations
Renaming – Clicking the name slot and typing in a new name.
Hiding – Clicking the eye button will toggle a layer’s visibility. Using
Rwill do the same for the currently selected layer.Deleting – Clicking the trash icon.
Reordering – Left mouse button drag on the dotted region on the left side of a layer.